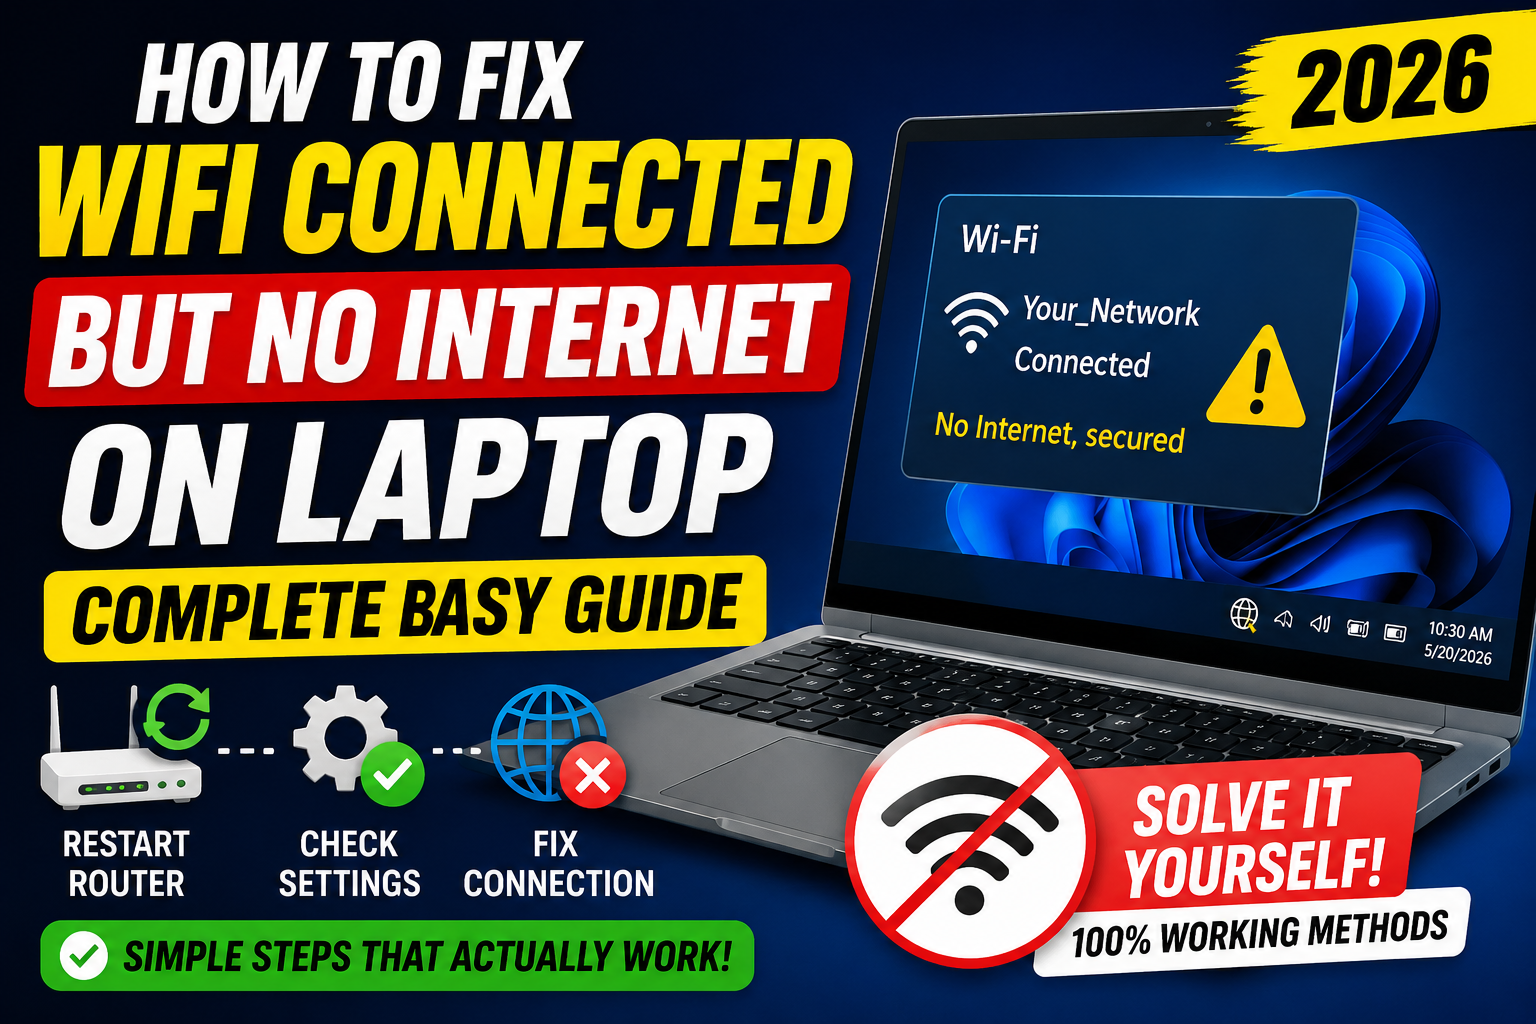
Full bars. Status: Connected. Chrome spins forever. This failure mode means your laptop joined the access point, but packets are not reaching the wider internet—or DNS is failing so names never resolve. The repair depends on where the break is.
Do not run ten commands blindly. Branch.
Minute-one isolation (do this first)
Answer with yes/no tests:
- Phone on the same Wi‑Fi: open a website with mobile data off and Wi‑Fi on.
Phone also fails → problem is router / ISP / hostel gateway, not your laptop.
Phone works → problem is this laptop’s network stack, DNS, proxy, VPN, or Wi‑Fi profile. - Laptop on phone hotspot: if hotspot browses fine, your laptop OS is mostly healthy; the campus/home Wi‑Fi path is the suspect.
- Another browser or Incognito: if only one browser fails, check extensions/proxy inside that browser before resetting Windows networking.
Write down which case you are in. The steps below split on purpose. Most “I tried everything” stories skipped this isolation and reset the wrong layer.
Branch R — Router / hostel / ISP (phone also dead)
Power-cycle properly
Unplug the router (and modem if separate) for a full 60 seconds, plug back, wait until lights stabilize (2–3 minutes). Reboot the laptop once afterward. Short 5-second flickers often do nothing—routers need time to drop stale NAT tables and re-authenticate with the ISP.
Hostel / college captive portals
Many campuses require a browser login page (roll number / Wi‑Fi voucher). “Connected” without portal auth looks exactly like no internet.
- Open a plain HTTP site (or the portal URL IT published).
- Complete login; check if a second device used up the session limit.
- Try forgetting the SSID and rejoining to trigger the portal again.
- Some hostels expire sessions overnight—morning “connected but dead” is often re-auth, not a broken Wi‑Fi card.
If only certain sites fail (e.g. only YouTube or only gaming ports), that can be gateway filtering—not your DNS. Ask lab/IT whether the destination is blocked before rewriting Windows settings.
ISP outage
If home fiber/LED ONU shows alarm lights, or the provider status page (via mobile data) reports downtime, wait or raise a ticket. No Windows tweak fixes a dead last mile. Neighbor reports on the same connection are useful evidence.
Branch L — Laptop-only failure (phone works on same Wi‑Fi)
Work top to bottom; stop when browsing returns.
Toggle and Airplane Mode
Quick Settings: Wi‑Fi off → 15 seconds → on. Confirm Airplane Mode is off. Disable/enable the Wi‑Fi adapter: Win+R → ncpa.cpl right-click Wi‑Fi Disable wait → Enable.
Forget and rejoin the network
Settings → Network & internet → WiFi → Manage known networks → Forget the SSID → reconnect with the correct password. Corrupted profiles cause connected” zombies—especially after password changes on the router that the laptop never fully relearned.
VPN, proxy, and security suites
Disconnect VPN completely (quit the app, not only “pause”). Leftover VPN adapters sometimes stay connected” to nowhere.
Settings → Network & internet → Proxy: turn off manual proxy. For home use, automatic detection is usually fine; a leftover manual proxy from a lab or office breaks everything at the café later.
Temporarily disable third-party antivirus network shields for a one-minute test—not forever. If internet returns, adjust that product’s web shield rather than living unprotected.
DNS change (high yield)
When the LAN works but names do not resolve, browsers hang on every https site while ping to a raw IP might still work.
Settings → Network & internet → Wi‑Fi [your network] → DNS → Edit → Manual → IPv4 on:
- Preferred
8.8.8.8Alternate8.8.4.4(Google), or 1.1.1.1/1.0.0.1(Cloudflare)
Save, then open a new tab. On locked-down campus networks, custom DNS is sometimes blocked—if so, revert and use Branch R / IT. DNS fixes are famous for everything suddenly loads” moments when the ISP resolver is sick.
Command-line refresh (admin Command Prompt)
Run as administrator, press Enter after each line:
ipconfig /flushdns
ipconfig /release
ipconfig /renew
netsh winsock reset
netsh int ip reset
Restart the laptop. These clear stale DNS caches, renew DHCP leases, and reset Winsock/TCP/IP state. Use after simpler toggles, not as step one—admin resets are powerful and slightly disruptive (you reconnect afterward).
Windows troubleshooter and Network reset
Settings → System → Troubleshoot → Other troubleshooters → Network and Internet → Run.
Still dead? Settings Network & internet → Advanced network settings → Network reset. You will re-enter Wi‑Fi passwords after reboot. Do this before blaming hardware or reinstalling Windows.
Driver note (recurring only)
If the issue returns after sleep/hibernate on one laptop model, update the Wi‑Fi driver from the laptop makers support page or Windows Update optional drivers—not random driver-booster sites. Recurring post-sleep failures are a classic flaky driver pattern.
Quick decision tree (print-friendly)
Same Wi-Fi: does phone browse?
├ No → Router power-cycle → captive portal → ISP/IT
└ Yes → Laptop:
         Hotspot works? → Fix campus/home Wi-Fi profile/DNS
         Hotspot fails too? → VPN/proxy → DNS → netsh reset → Network reset
Optional confirmations (when you want proof)
- Open Command Prompt and run
ping 8.8.8.8. If ping works but websites fail, DNS is the prime suspect—change DNS as above. - If ping to 8.8.8.8 fails while you are “connected,” you have a routing/gateway problem (or VPN diverting traffic)—return to Branch R or kill VPN.
pingmay be blocked on some networks; treat failure as a hint, not absolute proof.
What not to do
- Do not install “Wi‑Fi repair” freeware from unknown download blogs.
- Do not change BIOS settings for a software DNS issue.
- Do not format Windows until Branch L resets and hotspot tests are done.
- Do not buy a new adapter until the same laptop works on hotspot and fails only on one router—then the router/IT path is still more likely than a dead card.
Campus reality check
Shared hostel routers with dozens of devices, VLAN isolation, and expiry-based vouchers produce this symptom weekly. A calm isolation test (phone vs laptop vs hotspot) beats reinstalling Chrome three times. Fix the branch you actually have—and when the gateway is the villain, escalate to the people who run the access point, not Device Manager forever.